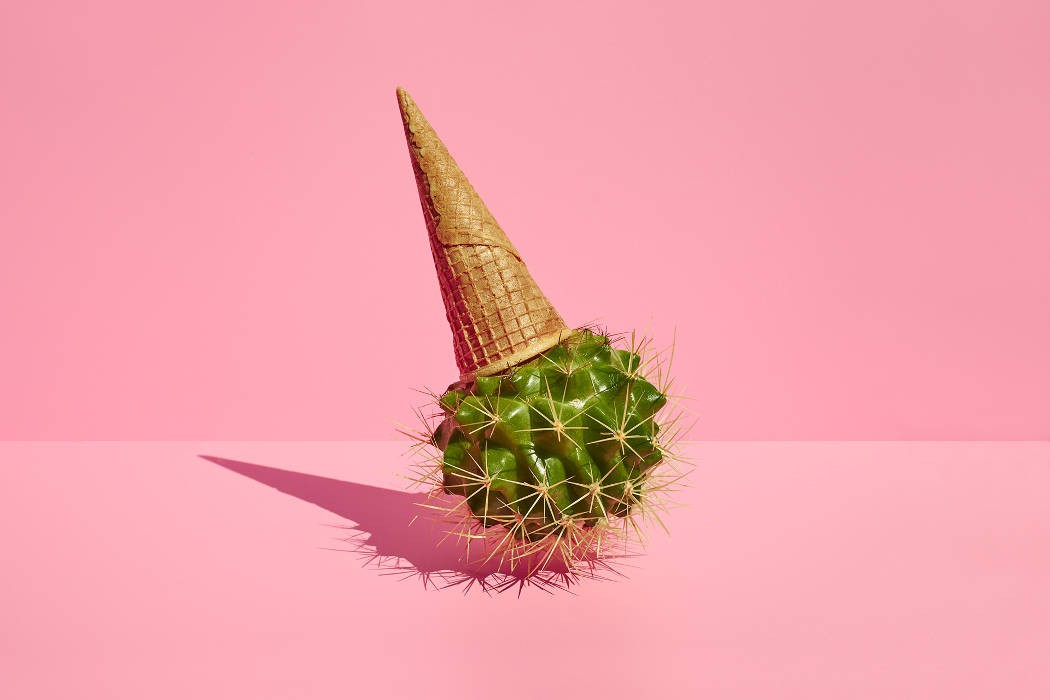
One of the best photography ideas for nature is to dress your subject in complementary colors. The color of your clothing can make the difference between a good and bad photo. A bright red shirt against a blue sky will make your subject pop. You can also use complementary colors when you take photos of humans. Here are some examples. These are some of the options you can use next time you take a photo in nature.
Rules of Thirds
There are many ways you can make your photo more appealing and interesting. The rule of thirds is a great way to make your photos more attractive and to improve the composition. This rule can lead to a ruined composition or a lack of experimentation. However, professional cameras are not necessarily the best. You can correct any mistakes made during the process of taking the photograph. Here are some tips when using the rules for thirds in photography.
Rule of three to capture a landscape
While taking photos of landscapes, remember the Rule of Thirds. A landscape has no clear subject, so placing critical information in the center of an image is difficult. Instead, the horizon should be in the upper or lower third of the image and the point of focus in the middle. This technique is also useful for group shots that require the sky, ground, or people to have equal proportions. The Rule of Thirds can make the composition look more pleasing to your eyes.

Using a wide-angle lens
A wide-angle lens is a great tool for landscape photography to highlight the foreground. Landscape photographers often struggle to capture the scene without a longer lens. Wide-angle lenses are a great choice because it makes distant objects seem closer. It is also a good choice for photographing sunrises or sunsets.
Using a flash
The flash's light is artificial, so it is important to be aware of this when using it. The flash's fill lighting doesn't have the same impact on the subject's as its main light. The flash's intensity, duration and brightness are not controlled by the photographer. When the ambient light is too bright, the camera adjusts the flash compensation. The flash can also be used to fill in shadows, reveal more textures and enhance the subject's appearance.
A tripod is recommended
The depth of field is an important aspect to consider when using tripods. It can be difficult to capture sharp images when you are shooting from a low angle. A tripod can make this easier. A tripod can be used in such situations to reduce the light entering the camera. You can also slow down the shutter speed to allow more light in. A tripod keeps your camera still even when the wind blows.
Macro lens
Macro lenses are great for nature photography. This type of lens magnifies detail and is great for portraits, landscapes and other types photography. True macro lenses can be set up to focus and aperture in a variety of settings. Here are some tips on how to use this lens to capture your subject at the closest possible size. By following these tips, you will be able to capture the best shots of your subject.
Using your iPhone camera
The iPhone camera can be used for taking photos of the natural world around you. You can make use of the wide depth of field of the camera. This feature allows subjects to be captured with blurred backgrounds easily without the need for a separate lens. Professional photographers can also achieve the same effect using the Portrait Lighting feature of the iPhone. To create dramatic, moody photos, you can also use the Stage Light and Contour Light modes.
FAQ
Is digital photography hard?
Digital Photography is not as easy as you think. It takes time to master the tools. You must know the right settings for different types shots. The best way to learn is by doing. Practice makes perfect.
How do I look beautiful in photographs?
The best way to ensure you look good in photos is to take them yourself. You'll learn the best angles to use, how to pose for photos, and how to make them flattering. Learn how to use lighting, props and other tools to enhance your natural beauty.
Learn how to select clothes that fit you well, what make-up looks good on you and what hairstyles best suit your style.
If you're unhappy with the result, we'll show how to retouch your images in Photoshop and other editing programs.
So, go ahead - take some self-portraits!
Is photography a talent or a skill?
Photography is not a talent but an art form that requires practice, training, and experience. To master any aspect of photography, it takes years of practice and study.
Photography is a business, and you should have a plan on how you're going to make it profitable.
To achieve this, it is important to first understand the kind of clients that you wish to attract and then find ways to reach them.
You must get to know them and their goals. You need to be able communicate clearly and persuasively in order to persuade your clients to purchase your services.
You will need to be organized and ready for any meeting with potential clients.
When you are ready to approach potential customers, you will need to create a portfolio of your work. This can be done digitally using software programs or printed onto paper.
After you have built a portfolio, it is time to look for ways to showcase it. You could approach businesses directly or post ads online.
How do you get started in digital photography
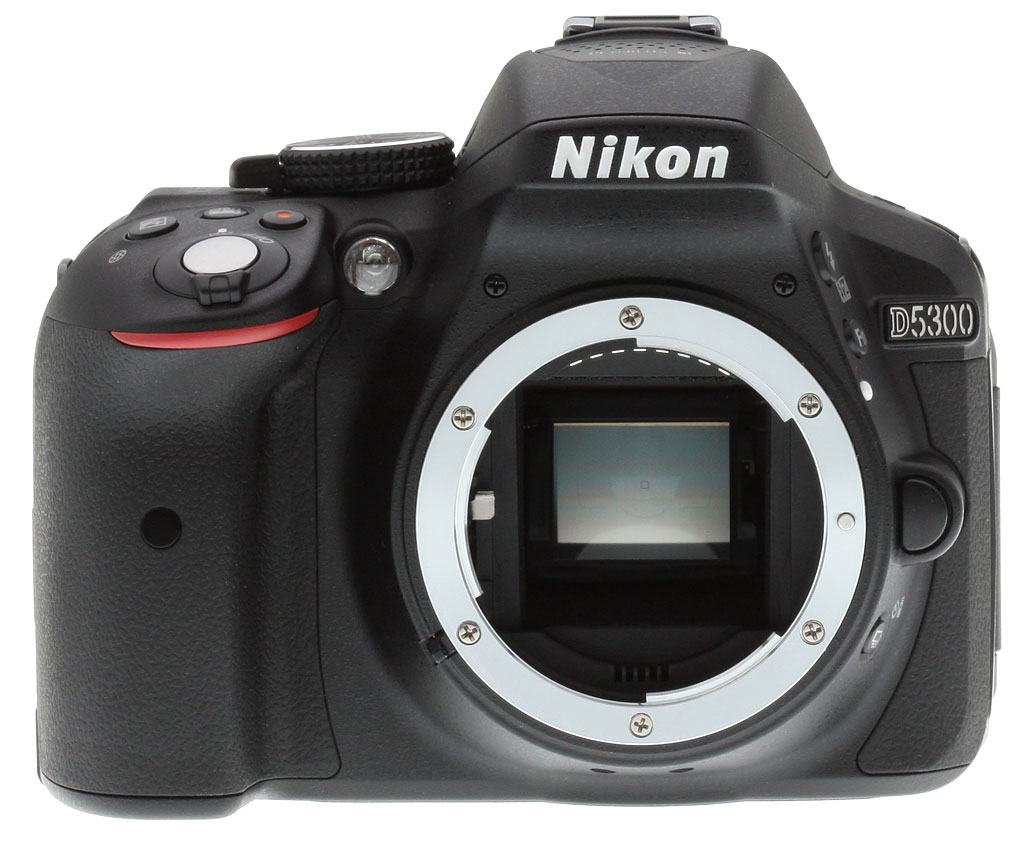
First, you need to decide what type of camera is best for you when you first start digital photography. There are many options: DSLRs (digital Single Lens Reflex Cameras), point-and–shoot compact cameras or camcorders. Each camera has different benefits and features. DSLR cameras, however, are larger and heavier than most other types of cameras. Point-and-shoot cameras are smaller and lighter and often include automatic settings for certain situations. Camcorders can record excellent video and have some still photography modes. Smartphones are light and portable and can be carried around easily.
Once you've made a decision about the type and model of camera you want, then you must decide whether you want to buy it new or used. You can find affordable used cameras, particularly if you bought them in the last few years. New models generally cost more because manufacturers spend large amounts of money developing new technology.
Next, you will need to purchase lenses. Lenses are crucial in determining the quality and appearance of your photos. They allow you to control the lens's focal length, allowing you to zoom into the scene without losing focus. Some lenses include built-in flash units. Others require external flash. There is a wide selection of lenses available from different brands. Each lens has its own characteristics.
Finally, you'll need to buy memory cards. Memory cards are used to store images taken with your camera. The size of your memory card will depend on the number of images it holds. It could store hundreds of thousands or even millions of pictures. Multiple memory cards are required if you intend to take many pictures.
How do I learn to take photos on my own?
There are many methods to learn how you can take amazing photos. You have many options. You could purchase a book or attend a class. Or you could join an online group. You can't go wrong with doing it yourself if you are serious about mastering the art of photographing. You have full control over the final product. You'll only get better as long as your learning continues.
One of the best aspects about digital photography is that it doesn't require any expensive equipment. All you require is an internet-enabled computer and a good camera. The rest is up for you.
Here are some tips for getting started:
-
Get familiar with your camera's manual settings.
-
Learn the basics of how to use these controls.
-
Take lots of photographs.
-
Edit them.
-
Please share them.
-
Keep practicing.
-
Experiment.
-
Explore different perspectives and angles.
-
Use light sources creatively.
-
Practice makes perfect.
-
Be willing to fail.
-
Be patient.
-
Have fun
Statistics
- While I cannot prove that all of those spots were not sensor dust, the photo was taken during a heavy snowstorm…so I guess that 99.8% of the spots are snowflakes. (bhphotovideo.com)
- By March 2014, about 3 million were purchased monthly, about 30 percent of the peak sales total. (en.wikipedia.org)
- The second easiest way to get blurry photos 100% of the time is to use a cheap filter on the front of your lens. (photographylife.com)
- That's the easiest way to get blurry photos 100% of the time. (photographylife.com)
External Links
How To
How to take photographs in low lighting conditions
Low-light Photography is when you take photos in dimly lit or dark environments. This requires special equipment and techniques. The main challenges include controlling exposure, white balance, and sharpness. Two types of low-light photography exist: ambient or flash. Flash photography works well when you have enough light. If there isn’t enough natural lighting, you will need to use a flash. You might need a flash if your subject is outside but indoors. A flash is not necessary if you aren't interested in shooting at night with the moonlit hours. You will get beautiful shadows and colors. Another option to consider is shooting during twilight. Twilight is when the sun sets but there's still daylight.
You may also want to experiment with long exposures. You can record images even after the shutter is closed for several minutes. If the shutter is closed, the camera records only the light that falls onto the sensor. The light that falls onto the sensor during a long exposure continues to be recorded. But, the shutter remains closed and no new light enters. The result is that there is very little movement. To ensure a clear image, you should turn off all automatic settings such autofocus or exposure. Make sure to adjust the ISO setting before starting to shoot. An ISO setting 200 gives you more control over how bright or dim your image appears. Once you are ready to click the shutter button, make sure it is fast. This will bring the shutter completely to a close. Then, you should hold the shutter button until the last possible second. To prevent additional light entering the camera, hold the shutter button down. Once you have taken your picture, wait for a few moments before you release that shutter button. This allows the camera's to process the image. While waiting, you can check out your photos on your computer screen. Save them once you are satisfied with them.