
The Canon R6 is a great digital camera. It can take amazing pictures. But it is also heavy and bulky. The magnesium alloy body has tactile rubber bits that allow your hands to rest on the surface. The camera is large and slightly heavier than that of the Sony A7 IV. It weighs in at 15% and slightly more than that of the A7 IV. It is well-built and provides full dust and moisture resistance.
Autofocus performance
The Canon R6's new Autofocus System makes it easier to focus on your subject. Compared to the R5, this autofocus system now uses more intelligent autofocus capabilities and the faster DIGIC X image processor. It also has the ability to capture birds and other subject and can focus at low lighting levels as low -6.5 EV. A 3-inch touchscreen is also available on the Canon R6 for simple navigation.
The Canon R6 has a remarkable AF system. Even beginners will find it easy. It can also shoot videos, thanks to its mirrorless design. The Sony A9 II's AF system can be impressive, but the Canon R6's autofocus performance has a better result. While it has difficulty focusing on close subjects, it does a good job when the subject is in full frame and backlit.
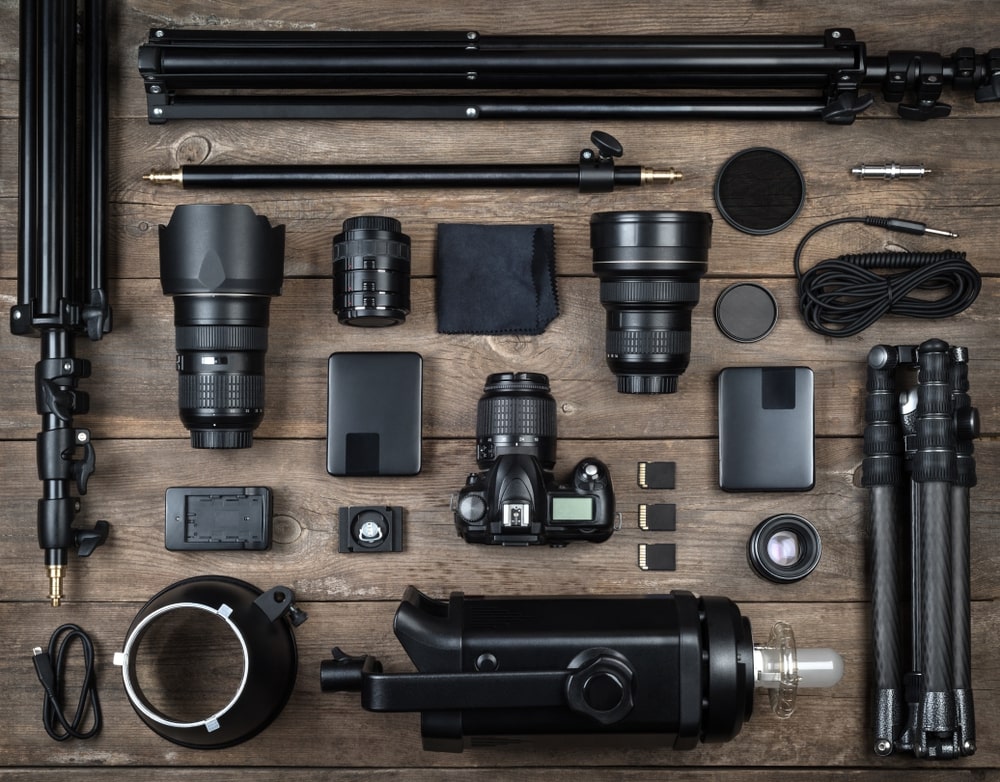
Image stabilisation
The Canon R6 has a new IBIS system that is rapidly gaining popularity. This system is built into the camera's sensor, and adjusts the amount of shake in the video. You can adjust IBIS to compensate the shake in a specific frame. The Canon R6 also features 10 RF lenses. Canon can achieve 6-8 stops depending on focal length.
Another issue is the camera's sensors rotating when using the EF/RF adapter. This problem is fixed by holding the shutter button half-pressed and adjusting IBIS to 'for shot only' mode. Canon R6 includes an in-body stabilizer system. It can either be firmware 1.2.0 or 3.0.3. It is not possible to use both modes in the same shooting session.
Sensor size
The sensor size of the Canon R6 measures 20.1 megapixels. The sensor size of the Canon R6 is 20.1 megapixels, which is lower than the average camera in this price range. However, it still produces excellent images. This sensor also features a large dynamic range and fast readout speeds. The sensor is also larger than most of its competitors, making it more costly. The Canon R6's sensor, which weighs over one pound is not recommended to beginners.
The Canon R6 sensor is exactly the same size and format as a 35mm film. It also has a crop factor of 1.0. If you shoot 4K video you will be able get the same angle and depth of field with your digital camera as with film. This is a major improvement. Even with the crop factor, however, your Canon R6's lens options will still limit you.
Price
The Canon R6 will become available in July 2020 at a cost of $2,499 including the kit lens and body. Both lenses can be combined with the R6. The R6 features a large grip, tactile rubber bits on the side of the camera where your hands rest, and a magnesium alloy construction. It is slightly heavier than the Sony A7 IV but is equally solid and provides dust and moisture resistance.
It's a full-frame camera with a 20 MP sensor. This camera is perfect for amateur photographers as well hobbyists interested in trying out photography. The R6 features a new HEIF capture mode, which doubles the amount of information stored in an image. HEIF files are similar in size to JPEG but is not supported widely by any software. Neither Adobe nor Capture One support it. It is an emerging format, and it may gain wider acceptance in the future.
FAQ
Light Room is an excellent tool to enhance your images.
Start early to get the best photos possible for your project. It's better if you take as many shots possible before you decide on the ones that give the most value.
Lightroom makes this possible by showing you how different settings affect each photograph. These settings can be adjusted on the fly without having to go back into Photoshop. This allows you to quickly experiment with what looks good and what doesn’t.
How do I look good in pictures?
The best way to ensure you look good in photos is to take them yourself. You'll learn the best angles to use, how to pose for photos, and how to make them flattering. You will also learn to use lighting and props as a way to enhance your natural beauty.
You'll learn how to find clothes that fit and make up that looks great on your skin.
If you are not happy with your results, we will show you how you can retouch them using Photoshop and other editing tools.
You can now take self-portraits.
Should I get into photography as an interest?
Photography is an excellent way to capture memories and share them with friends and family. Photography also lets you learn more about the world around.
You can find many online resources to help you learn how to take better photographs.
It may be worth looking into classes at community colleges and art schools. This allows you to meet other photographers who can provide valuable feedback on your work.
Do I Need A Tripod?
This is a question everyone asks. The truth is that a tripod isn't always necessary, but it can come in handy.
It allows you to hold your camera steady when taking pictures at slow shutter speeds. Tripods can be a huge help when you are shooting landscapes or stationary subjects.
A tripod can also cause blurriness when you are photographing people or sports. How do you decide which situations are best served by a tripod.
A tripod is useful in situations where you want to take pictures of fast action and stationary subjects. Examples include:
-
Sports
-
People
-
Landscapes
-
Close-ups
-
Macro shots
If you're unsure whether you need a tripod, try this test. Take your camera and hold it still. Then, look through the scope. If blurred lines appear or you feel movement, you will definitely need a tripod.
A tripod won't make any difference if there is no blurring.
However, if you do decide to invest in a tripod, here are some tips to keep in mind.
-
Make sure your tripod has smooth legs. This helps to prevent vibrations from shaking the camera.
-
Use a sturdy tripod. Some tripods are made out of plastic and may not be very durable. Opt for a sturdy metal tripod.
-
You may want to consider buying a remote-control device. This lets you control your camera remotely. It can automatically fire the shutter when you press the button.
-
Make sure to look for a tripod that rotates 360 degrees. This allows you to place your camera horizontally and vertically.
-
Keep in mind that tripods aren't cheap. Expect to spend between $100 and $200. You will still get a lot out of your money.
-
Don't forget accessories such as memory cards or filters.
-
Before you buy online, make sure to check your local shops. Many retailers offer free shipping.
-
To find out what customers think about a product, read reviews.
-
Ask friends and family members who own similar products.
-
Visit forums and message boards to learn about customer experiences.
-
Look online for user reviews.
-
Use websites like Amazon.com to compare prices and read customer feedback.
-
View photo galleries to see the different uses of tripods by photographers.
What makes an excellent camera bag?
It is essential to choose a camera bag that protects your gear when you travel. Here are some things to remember when buying a bag.
-
Sizing: A large bag will hold your camera and other accessories. You shouldn't buy more than what you actually need.
-
Durability: Bags made of durable materials such leather, canvas and nylon are best. Avoid plastic and fabric bags.
-
Protection: Make sure your bag protects against dust, dirt and moisture.
-
Organization: Consider organizing your gear by type to easily access your needs. You can put your lenses in one place, your memory cards and your battery charger another.
-
Comfort: A shoulder strap is a better choice than a handbag for shooting. Look for comfortable designs with padded straps.
-
Price: You can shop around to find a great price. Brands may offer discounts on their products, which can prove to be a plus.
-
Warranty: Find out whether the company offers a warranty. You will know who to call if your bag gets damaged.
Statistics
- That's the easiest way to get blurry photos 100% of the time. (photographylife.com)
- While I cannot prove that all of those spots were not sensor dust, the photo was taken during a heavy snowstorm…so I guess that 99.8% of the spots are snowflakes. (bhphotovideo.com)
- There are people out there who will pick at flaws they can only see in 100% crops of your photos. (wikihow.com)
- In this case, 100% of readers who voted found the article helpful, earning it our reader-approved status. (wikihow.com)
External Links
How To
How to photograph in low light conditions
Low-light photography is the art of taking photographs in dark or dimly lit environments. It requires special equipment. The main challenges in this field include controlling exposure, whitebalance, and sharpness. There are two kinds of low light photography. Flash photography works well when there is sufficient light around you. But if there isn't enough natural light, then you'll have to use a flash. If your subject is outdoors but indoors, you might not have enough light to take a great picture without a flash. Try shooting at night, during the moonlit hours, if you don't need a flash. You will get beautiful shadows and colors. Another option is taking photos at twilight. Twilight occurs when the sun has set, but there is still daylight left.
Long exposures are also an option. Long exposures can be used to capture images even if the shutter has been closed for several minutes. The shutter must be closed so that the camera only records light that hits the sensor. This light falls onto the sensor even after a long exposure. The shutter is still closed so no light can enter the lens. This means that you will not see any movement. You can ensure clear images by turning off automatic settings such as autofocus or autoexposure. Adjust the ISO setting before you start to shoot. An ISO setting of 200 gives you more flexibility to control how bright or dark your image looks. When you're ready for the shot, press quickly the shutter button. This will bring the shutter completely to a close. Keep the shutter button pressed down until the last second. The shutter button should be held down to prevent more light from entering the camera. Once you have taken your picture, wait for a few moments before you release that shutter button. This allows the camera's to process the image. While you wait, your photos will be displayed on your computer's screen. Save them once you are satisfied with them.