Learn how to create a photograph with leading line if you want to capture the essence sunset. The rule of thirds is a way to divide the frame into thirds. It suggests placing your subject on one the intersecting points. This creates harmony and symmetry in your photos. Here are some tips to get you started. The best sunset photos can be captured using a tripod and rule of thirds.
Rules of thirds
The rules for thirds are helpful in composition and balance of your landscape photos. To balance the sky's reflections, place the horizon in middle of frame. This rule will also help to better meter your photos. You can place other subjects along this left-hand border. By following these guidelines, you can capture great images every time. And, the best part about it? They are easy and simple to implement.
It's easy to use the Rule of Thirds as a composition tool for your photographs. Simply apply the Rule of Thirds to any scene. You will be able to take better photos by using this framework. Sunrise is a great example. The rule of thirds is well-executed in a sunrise photo. You can use this composition to capture the moment while still capturing the beauty of nature. Remember that the composition is dependent on what elements are included.
Filter for ND Grad
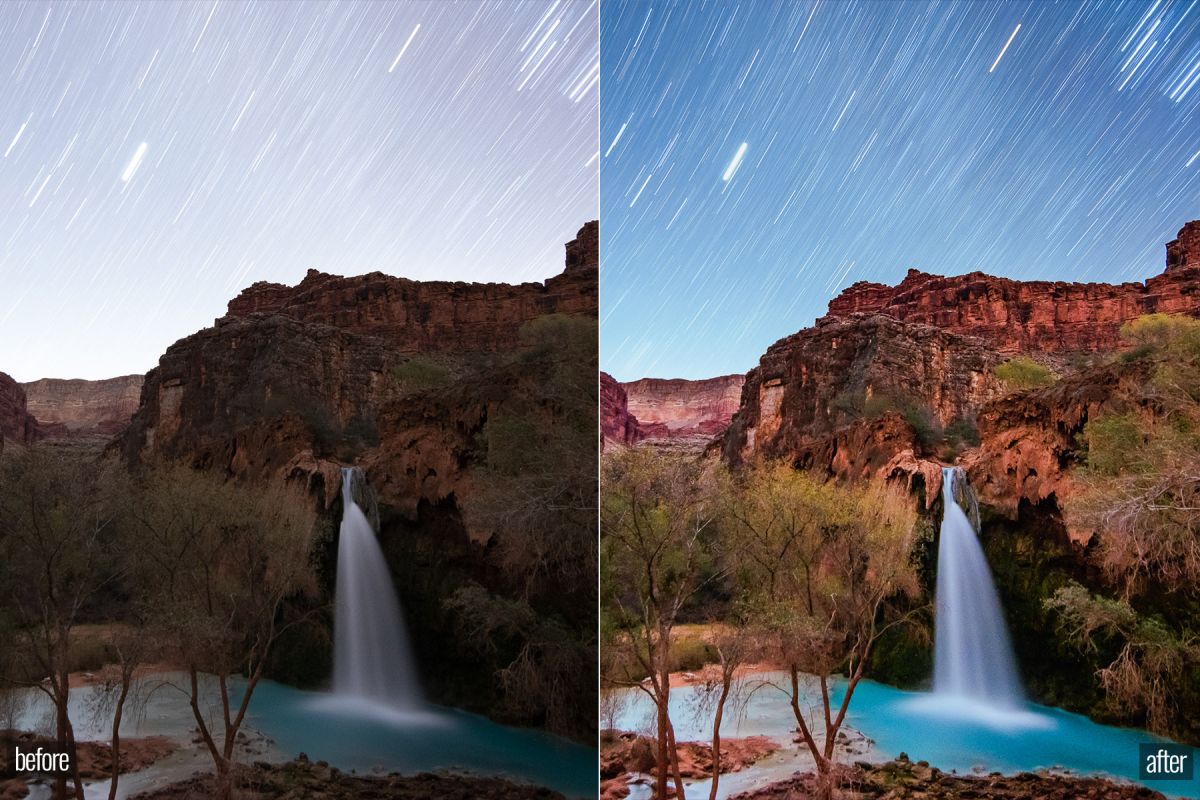
Adding an ND Grad filter to your camera arsenal will help you capture better images of the sun setting. This filter is sometimes referred to by the term "neutral density filter" (NDD). It can be either hard or soft. A hard gradient will make the sky look brighter. A soft gradient will make it look more serene. Both types of grads are useful for landscapes, but they are not ideal for subjects that are entirely in the foreground.
Photographing sunsets poses several challenges. Photography of sunsets can be difficult because the sky, landscape and horizon are often brighter that the rest of the scene. An NDGrad Filter, also known by the "reverse" ND Filter is a great tool for correcting this issue. Reverse-ND Grad Filters are composed of a dark top, clear middle, and a transparent bottom. They balance the dynamic range.
Google Maps
You have probably tried to use a map when you want to capture stunning sunsets. You may not be able to find a sunset table in your area, even though most cities offer them. Google Maps, Earth and other similar tools can help. These tools allow you to find the latitude and longitude of a specific location. You can use Google Maps or Earth to locate sunset tables at specific locations to ensure that you get the best shot possible.
The first thing you need to know is that Google Maps allows you to switch between two different views: aerial and 3D. The 3D view is more than Street View; it uses satellite images and topographic maps to help you position yourself off the beaten path. Aerial imaging, however, is a familiar option and can be used for quickly gathering coordinates and taking stock of an area. Aerial view loads much faster than 3D mode.
Use of PhotoPills
PhotoPills is an excellent way to plan your photography sunset shots. It can also assist you with taking sunrise or moonrise photos. In fact, it can also help you plan a Perseids photo. Because sunrise and sunset photos can be very different from other types of photos, Sunsets have a golden glow, while sunrise and midday light amplify colors. PhotoPills can also be used to plan Perseids photos!
PhotoPills can show you the times of day and sunrise as well as where the sun, moon and stars will be at each time. These details are critical for planning your photography sunset. This way, you can get a great shot of the sky without worrying about the lighting. This is because you cannot just randomly snap a photo. PhotoPills is a great resource for weather information.
FAQ
How do I get started with digital photography?
When you start out in digital photography, the first thing to consider is which type of camera you will use. There are many choices: DSLRs (digital single lens reflex camera), point-and shoot compact cameras and camcorders. Each camera has different benefits and features. DSLR cameras are more expensive and weigh more than other types of cameras. Point-and shoot cameras are lighter and smaller than other types of cameras and can often be set up automatically for certain situations. Camcorders can record excellent video and have some still photography modes. Smartphones are small, light, and easy to carry around and offer great image quality and many advanced features such as GPS mapping, music playback, and Internet browsing.
After you have decided which type of camera you want to purchase, you need to decide if you prefer to buy a new or used model. You can find affordable used cameras, particularly if you bought them in the last few years. Because manufacturers invest large sums of money in developing new technology, new models tend to be more expensive.
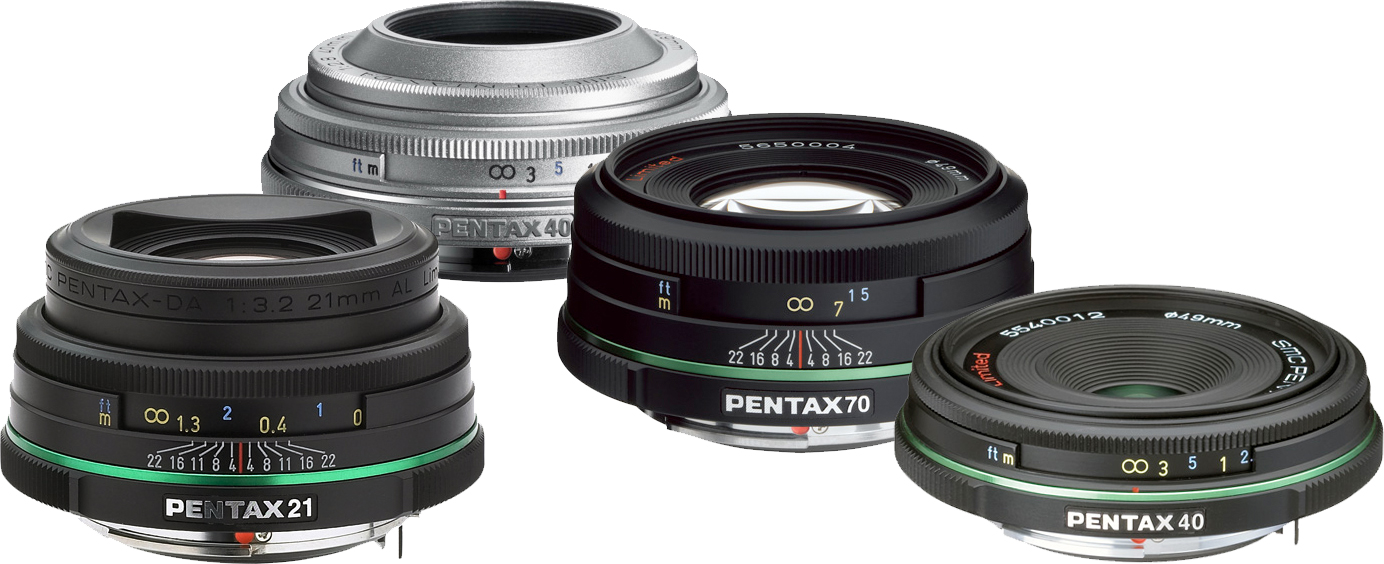
Next, you'll need to buy lenses. Lenses are a critical part of determining the quality your photos. They allow you to control the lens's focal length, allowing you to zoom into the scene without losing focus. Some lenses include built-in flash units. Others require external flash. Many brands offer many lenses with unique characteristics.
You will also need memory cards. Memory cards save pictures taken with your camera. The size of your memory card will depend on the number of images it holds. It could store hundreds of thousands or even millions of pictures. Multiple memory cards will be required if your plan is to take lots of pictures.
Where to Buy Cameras?
There are many online places where you can purchase cameras. However, we recommend buying from a reputable retailer like B&H Photo Video. They have knowledgeable staff that can help answer any questions you may have.
B&H ships quickly and securely to make it easy for you to get your order to your door.
This video will help you learn more about buying cameras.
Is digital photography hard?
Digital photography can be difficult. It takes time and effort to learn how to use the tools properly. You need to know what settings to use for different types of shots. Learning by doing is the best way to learn. Practice makes perfect.
Statistics
- There are people out there who will pick at flaws they can only see in 100% crops of your photos. (wikihow.com)
- The second easiest way to get blurry photos 100% of the time is to use a cheap filter on the front of your lens. (photographylife.com)
- In this case, 100% of readers who voted found the article helpful, earning it our reader-approved status. (wikihow.com)
- This article received 13 testimonials, and 100% of readers who voted found it helpful, earning it our reader-approved status. (wikihow.com)
External Links
How To
How to Take Pictures of Yourself
Portraits are important because of their ability to show who you actually are. They are also a way to tell your stories. You may have a favorite picture of yourself when you were younger, but now you want to capture something new. It's easy not to remember how much fun photographing can be. These are some tips that will help you get started.
-
Make sure that you have enough light. Photographing portraits in the early morning or later in the afternoon is the best time. Make sure you don't have direct sunlight shining on your face if you are using flash. This will blur any details. Avoid shooting at noon. There will be too much shadow.
-
Use a tripod. If you are holding the camera still, there will be no movement. It will also prevent you from freezing action. Also, if you do plan on using a flash, prepare your shot without it. You can then turn the flash off and try again.
-
Take close-ups. Closeups are great for showing detail. However, they can look fake if you don't have good eyes. Look closely at people's eyes, mouths, and noses. Do you see anything strange? Is someone wearing glasses? Are there freckles across her nose? These are subtle details that add depth to someone's appearance.
-
Do not force smiles. Smiles can be difficult. Many people smile naturally when happy. However, others may not. If you try to force them, it just looks unnatural. Take a moment to think about what makes us laugh. Perhaps it's silly things like watching a cat jump through a hoops. Perhaps you simply love watching paint dry. Whatever it may be, don't stop thinking about it until your heart starts to laugh.
-
Be creative. Many people think they are boring. But being ordinary isn't bad. You can find ways to be different from the norm. Perhaps you ask the person to place his hands behind your back, or pose with his hands behind your back. You might also suggest that he wears a funny hat.
-
Keep practicing. Practice every day and you will eventually be a better photographer. You will notice more interesting things as you get better.
-
Have fun! Shooting photos should be enjoyable. You'll be more inclined to return to the same process if you enjoy it. You'll likely end up with some truly amazing shots.
-
You should share your work. Share your photos with family and friends once you have learned how to take great pictures. Tell them why you took the picture. Tell them where you went. Tell them what you did.
-
Be patient. Sometimes things just don't click. It happens for everyone. Don't worry. Don't worry. Just move onto another image.