
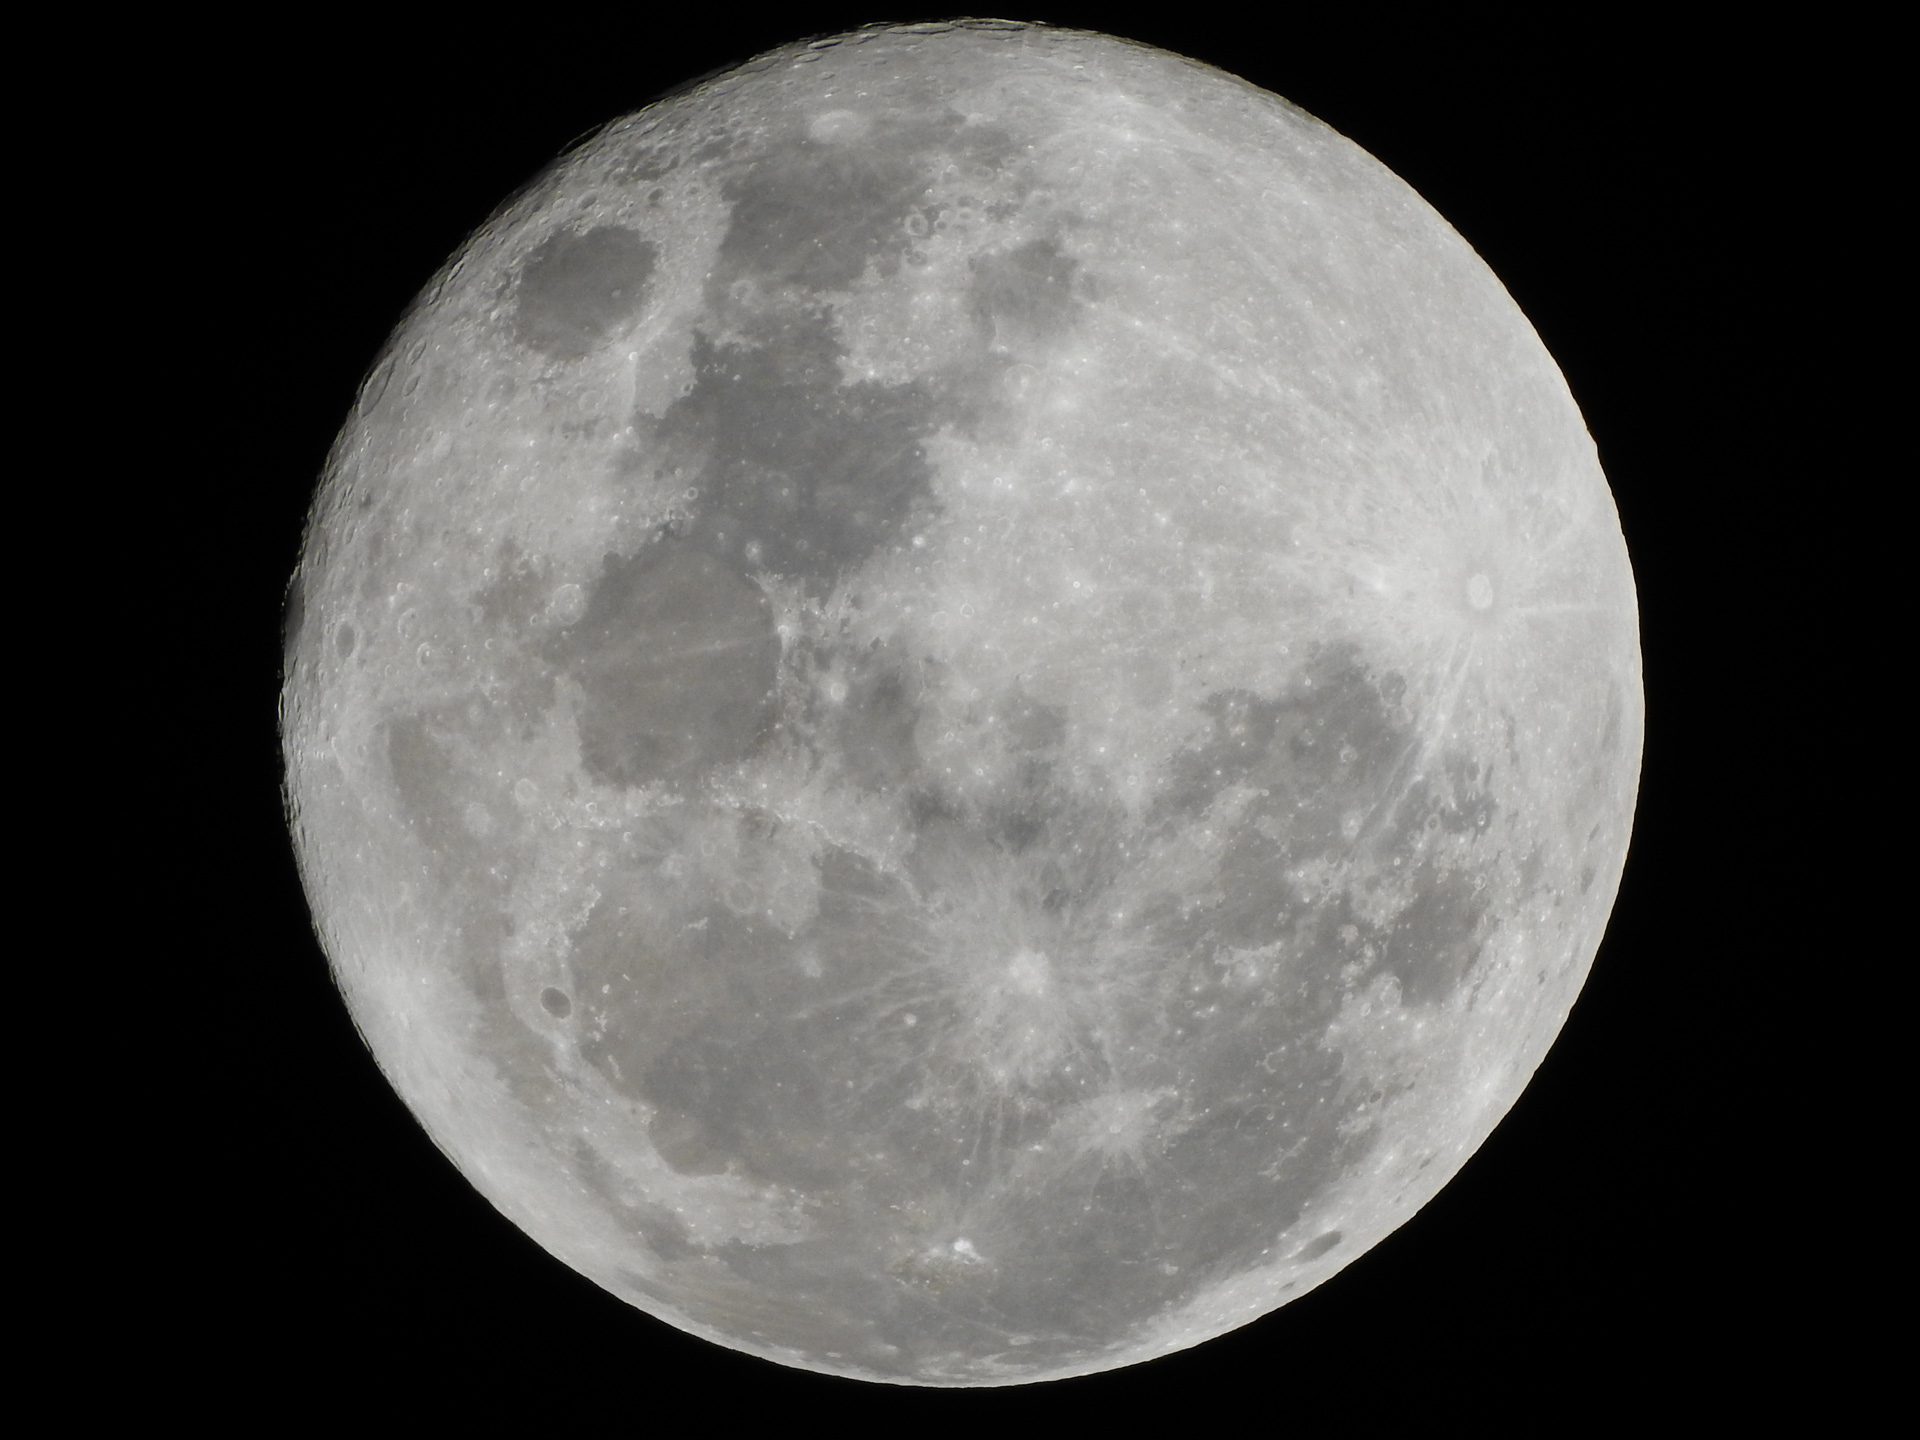
Night photography can be a challenge. Understanding light and movement is key. It is possible to capture light trails and contrasted buildings in a city that is bustling with activity. You can change the look of a scene by using full or half moonlight. A low-horizon full moon can light a scene dramatically, while a new moon gives you the opportunity to take pictures of stars and meteor showers. Here are some tips for capturing the night's beauty.
Manual focus
There are a few key steps you should follow when you're taking night photos. Manual focus is most important when it's dark, but there are other ways to achieve the same effect. Using the live-view feature on your camera can also help you focus manually. Once you achieve manual focus, be sure to go back to shooting mode in order to adjust the aperture or focus ring. A tripod can help stop the focus ring moving.
A tripod is recommended
It is important to use a tripod when taking night photos for several reasons. First of all, you can take longer exposures with no camera shake. Long exposures are great for capturing crowds or fast-moving people in the background as whisps of light. Second, a tripod helps to prevent camera vibrations that can occur during long exposures. Nighttime photography is particularly important because long exposures can cause image quality issues.
White balance
Night photography can be achieved using a variety of settings. For urban areas, a lower white balance setting is appropriate, while for dark environments, a higher setting can be used. Some cameras come with an auto setting to adjust white balance automatically. This will compensate for this difference and ensure sharp photos and a warm glow. The Auto setting is the best for most situations but there are manual settings that can produce better results.
Exposure time
Night photography requires that you consider the exposure duration. Long exposures, especially when using bulb mode, are perfect for light painting. To capture long exposures, you will need a remote shutter release. Also, be aware that when shooting in JPEG mode, you will experience a significant reduction in quality, while RAW keeps original colors intact. This article will demonstrate how to set the proper exposure time, as well as how to use a shutter speeder to achieve the best result.
Lens
It is important to think about the subject matter when choosing a night-photography lens. Night photography is generally about dramatic landscapes and the night sky. You will need a lens with a large focal length to capture these subjects. But, it is important that you match your lens' focal length with the body of your camera. A Nikon lens won't fit on a Canon body and vice versa. There are Sigma lenses that can fit on both.
FAQ
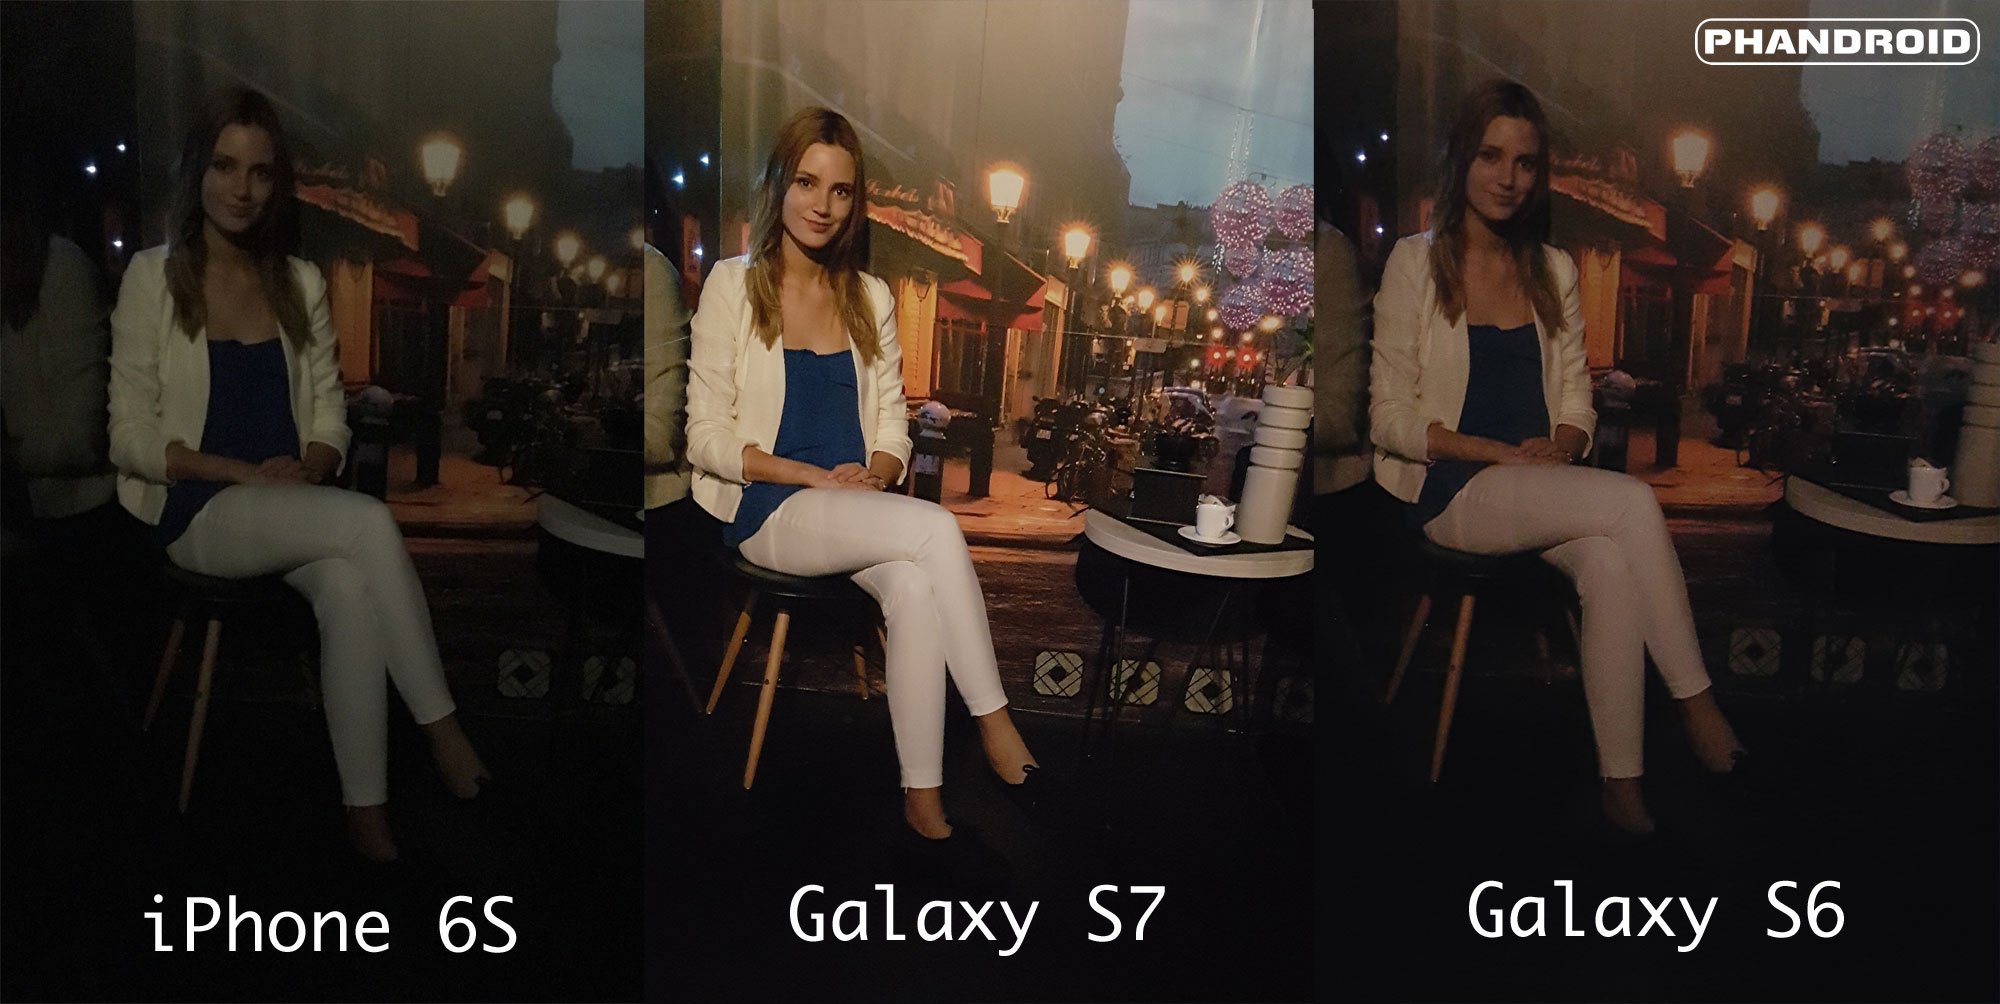
How can I improve my photography skills on my phone?
You don't need expensive equipment to take great photos! You can take amazing photos with just a phone.
It's easy to get started with the software.
Many apps are available for iOS and Android that allow you to easily edit and share photos.
Here are five tips to help get you started taking better photos.
-
Set Up Your Camera App. The camera app should be pre-installed on the device. If your camera app isn't installed on your device, download it from Google Play.
-
Use effects and filters. Filters and effects allow you to change the appearance of your photo without having to touch your image.
-
Adjust the exposure. You can adjust the exposure to control the brightness of your photo.
-
Make sure you are shooting in the right light. Photographing in bright lighting makes it easier for you to see details within your subject. Shooting in low light conditions lets you capture the shadows and highlights in your image.
-
Take Pictures Of People. Taking pictures of people shows others the things you love most.
Check out this article to learn how to take better pictures with your smartphone: 5 Tips To Improve Photography Skills
What Lenses Should I Use
The most frequently asked question by beginners is "What lens should i buy?" The choice is difficult because of the many options.
You don't have to buy a brand new lens each time you purchase a new camera. You can simply add lenses later.
These are just three options for lenses that you might consider.
-
Wide Angle Lens (14mm-24mm): These lenses have a wide view angle that will allow you to capture more of your subject. You can also zoom in without losing image quality.
-
Normal/Standard Zoom Lens (28mm - 70mm): These lenses allow you to change focal lengths while maintaining image quality.
-
Telephoto Zoom Lens (70mm-200mm): These lenses can be used to capture distant subjects. They let you focus on your subject even though they appear small in the frame.
These lenses can also be combined to produce different effects. To capture close-up details, you can switch between a normal and telephoto lens.
Is photography a talent?
Photography is not a talent but an art form that requires practice, training, and experience. It takes years of study and practice to become proficient at any aspect of the craft.
Photographing is a business that requires a plan.
You need to know what type of clients you are looking for and how you can reach them.
You must get to know them and their goals. To persuade them, you must communicate clearly and persuasively.
This means that you will need to be well-organized and prepared when you meet potential clients.
To be ready to meet potential customers, you'll need to build a portfolio. You can either create a portfolio digitally with software programs, or print it on paper.
Once you have created your portfolio, you need to find opportunities to display it. This could include advertising online or directly approaching businesses.
What camera should I get?
That all depends on what kind of photographer you want to become. If you're just getting started, a basic point and click camera will suffice.
However, once the basics are mastered, it's likely that you will want more advanced features. The choice really comes down to personal preference.
These are some things you should consider before buying a camera.
-
Features: What features are you looking for? Do you plan to use manual settings, autofocus, or both? How many megapixels does your camera have? Is there one?
-
Price: How much money are you willing to spend? Are you going to buy a new camera every year?
-
Brand: Is it possible to be happy with your brand choice? You don't have to settle for anything less than the best.
-
Functionality: Does your camera perform well in low light conditions? Do you have the ability to take high-resolution pictures?
-
Image Quality: How sharp and clear are your images?
-
Battery Life: How long will your camera last between charges?
-
Accessories: Will you be able to attach additional lenses, flashes, etc. ?
Statistics
- This article received 13 testimonials, and 100% of readers who voted found it helpful, earning it our reader-approved status. (wikihow.com)
- By March 2014, about 3 million were purchased monthly, about 30 percent of the peak sales total. (en.wikipedia.org)
- There are people out there who will pick at flaws they can only see in 100% crops of your photos. (wikihow.com)
- The second easiest way to get blurry photos 100% of the time is to use a cheap filter on the front of your lens. (photographylife.com)
External Links
How To
How to Use Lightroom in Photography
Adobe Lightroom is an excellent tool for photographers who need to quickly edit their photos. It lets you import images from multiple sources into one place, where they can all be viewed, edited and cropped. You can also share them online, print them, or email them.
Lightroom has many editing tools, including cropping, adjusting contrast, brightness, and color balance. Lightroom also offers presets to make common effects like vignette, lens distortion, and black and white conversion. These changes can be applied automatically when you export your image.
Adobe Bridge lets you access Lightroom. It allows you to organize your files and view thumbnails, while browsing your collection. You can also add keywords to images to make them easier to find later.
Lightroom is free for those who are just starting out. This will give you the most basic features. You have two options if you wish to upgrade: either buy the full version or subscribe.
Lightroom can be downloaded in many ways. One option is to purchase the software directly from Adobe. Another option is to download the trial and convert it to a full-featured license. Here's how to do that.
-
Lightroom Trial Version
-
Start the program and click the "Convert License" button at the bottom.
-
Enter your payment details and choose the type you wish to purchase (permanent or for one year).
-
To complete the process, click "Continue".
-
After you convert the trial version into a paid license you can use it until the end.