This course is designed for people of all experience levels, who want to learn how to capture images of local wildlife and exotic animals. You will learn the basics of wildlife photography and where to find the best opportunities to take photos of your favorite subjects. You'll also learn to get close enough to your subject. You'll also learn great tips about what to wear and how you can stay safe when photographing wildlife.
Camera settings
The key to wildlife photography is understanding how camera settings work. It is vital to learn more than just how you can switch between Aperture Priority and Shutter Priority. Wildlife photography can be difficult. These are some tips that will help you create the perfect wildlife photo.
Take into account the speed at the which you take the photograph. This setting can have a significant impact on wildlife photography. The speed at which you take the photo will determine its sharpness, depth of focus, and artistic effect. You should choose the shutter speed that best suits your photographic needs, depending on the time and focal length of the subject.
Lenses
You need the right optical properties for wildlife photography. Canon lenses are well-known for their sharpness and proven performance in this field. These lenses will last years of reliable and long-lasting use, even though they are more expensive then some of the other lesser brands.
A good wildlife lens will offer you a variety of framing options. A wide selection of focal lengths is important when shooting wildlife photos. Also, a wide aperture lens is an excellent choice when it comes to wildlife photography.
Photos of wildlife taken in locations
Photographing wildlife and nature is a passion of mine. There are so many great places to do this. You can find the best places in the wilderness. For example, in Glacier National Park you can photograph bighorn sheep. You may be able to view the animals in a more intimate setting. This allows you to wait for the right moment before taking a photo.
Many people are not aware of the fact that they can encounter wildlife right in their own backyard. Botanical Gardens and parks are full with wildlife. And they're not so shy as wild wildlife. These areas are great for wildlife photography. Another good place to photograph wildlife is a freshwater lake. Because freshwater lakes are full of water, many species are naturally attracted to them. Some species even find food right in the water.
Get close to your subject
Great wildlife photography requires that you get very close to your subject. You must make the animal feel comfortable and relaxed in order to capture stunning images. To achieve this, lower your head and keep your eyes down so your subject is focused. Slowly move closer to your subject while watching from the corner of the eye. As you approach your subject, take several test shots to get them used to the camera shutter. Never rush the process.
While getting close to your subject in wildlife photography is one of the most rewarding experiences, it's important not to stress the animal. People can scare many animals and it is dangerous to get too close. Pay attention to your surroundings and avoid stepping into any mud puddles.
Use a tripod
Tripods can be used to take better photographs of birds, animals, and other wildlife. Tripods can support heavy weights while still allowing your camera to move freely. There are different types of tripod heads, including ball heads and gimbals. You will need a tripod head that can handle large telephoto lenses for wildlife photography. While most ball heads are limited in weight, some can support the entire lens weight.
The Really Right Stuff TVC34L L MK2 is a tripod that can be used for wildlife photography. The new version of this tripod is more robust and features lower sections. This lower section allows the camera's movement from vertical to horizontal with minimal motion.
Prepare for tough conditions
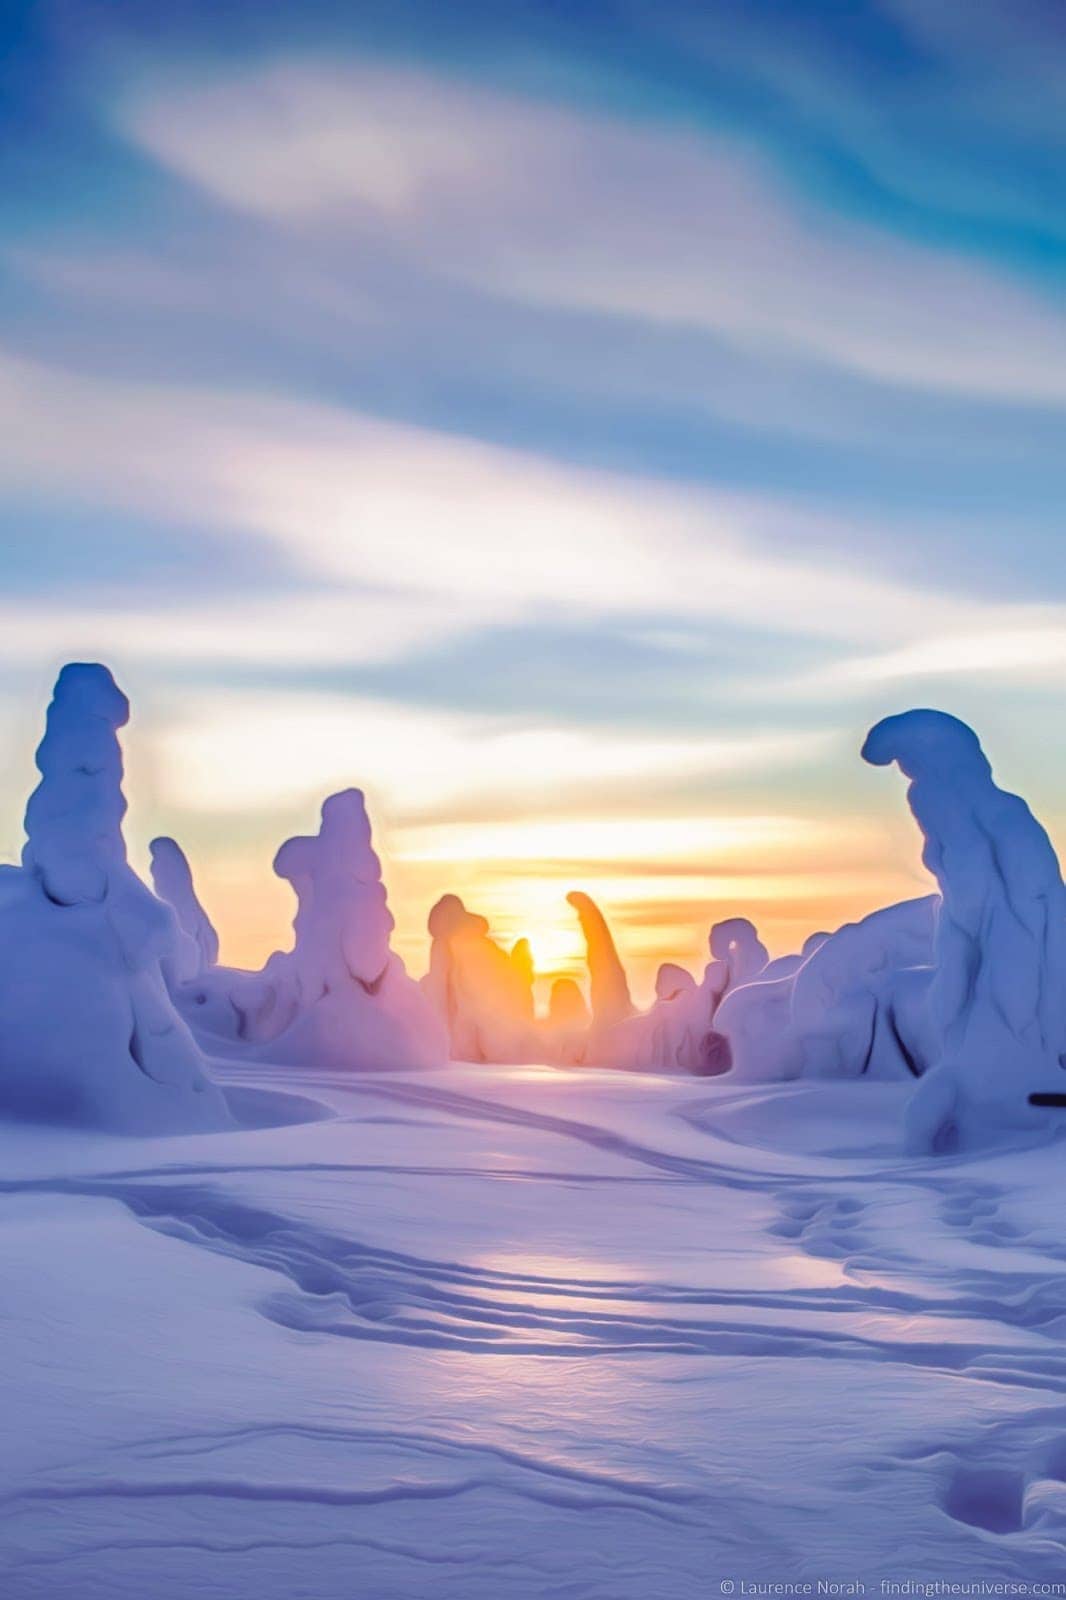
Photographing wildlife in difficult conditions requires that you be ready for all eventualities. It is possible to get caught in an ice storm, high winds, or snowstorm because weather conditions can change rapidly. Avoid this by checking weather satellites before you travel, especially if your destination is remote. The dramatic effects of a snowstorm on images can be quite impressive, but it can also make it dangerous to get caught in one.
Wildlife photography is an art form that requires skill, patience, and dedication. You must learn as much as you can about the species you want to photograph. Learn about the habitat they live in, the best time to photograph them and other factors that can affect the animals. Protect your gear from weather extremes.
Take photos from a plane
Photographing wildlife from a flight is a great way to capture nature's beauty. This is done by a pilot flying 1,000ft above the ground, using a wide-angle to zoom lens. Drones are now capable of producing aerial photos. These drones can capture intimate shots.
It is important to avoid getting in the way of an airplane when taking photos. To get the shot, move the aircraft away from your subject. You should plan ahead as large obstructions can be difficult to avoid. Be sure to choose a lens with vibration suppression. A slow shutter speed is essential. If possible, use a speed of 1/125 or 1/25 second.
FAQ
Which Lenses should I Use?
The most popular question that beginners ask is "What lens do I need?" This is a difficult decision because there are so many options.
There is good news: You don't need to buy new lenses every time you buy a new camera. You can always add lenses later.
Here are three types of lenses to start with.
-
Wide Angle Lens (14mm-24mm): These lenses have a wide view angle that will allow you to capture more of your subject. You can zoom in and not lose image quality.
-
Standard/Normal Zoom Lens (28mm-70mm): These lenses let you change the focal length while still maintaining excellent image quality.
-
Telephoto Zoom Lens (70mm-200mm): These lenses can be used to capture distant subjects. These lenses let you focus on the subject even if they are small.
You can also combine these lenses to create different effects. You can use a normal lens for close-up detail and switch to a zoom lens to capture distant objects.
Is digital photography hard?
Digital photography isn’t as easy as you may think. To use digital photography properly, it takes patience and effort. It is important to be familiar with the settings that are best for each type of shot. The best way to learn is by doing. Practice makes perfect.
Cameras available for purchase
Cameras can be purchased online from many different places. B&H Photo Video, however, is recommended as a trustworthy retailer. They have knowledgeable staff that can help answer any questions you may have.
B&H ships securely and quickly, so you can get your order delivered right at your door.
If you want to learn more about shopping for cameras, check out this video.
Do I Need A Tripod?
This is one of those questions that everyone asks. The truth is that a tripod isn't always necessary, but it can come in handy.
A tripod allows you to stabilize your camera when taking photos at slow shutter speeds. A tripod is a great option for landscapes and other stationary subjects.
However, tripods can blur the images of moving subjects like sports and people. What are the best ways to determine which situations you need a tripod for?
A tripod is an essential tool for photographing fast-moving subjects or stationary objects. Examples include:
-
Sports
-
People
-
Landscapes
-
Close-ups
-
Macro shots
You can use this test to determine whether you need a tripod. Keep your camera still, and then look through the viewfinder. If you see blurred lines or movement, then you definitely need a tripod.
A tripod will not improve blurring if you don't notice it.
These are just a few tips to help you decide whether or not to purchase a tripod.
-
You should ensure that your tripod has smooth legs. This will prevent unwanted vibrations from shaking your lens.
-
Make sure you choose a sturdy tripod. Some tripods may be made from plastic, which can make them less durable. Consider a tripod made of metal.
-
You may want to consider buying a remote-control device. This allows you to control your camera remotely. The button can be pressed to activate the shutter.
-
Look for a tripod that has a 360-degree rotating head. It makes it easy to position your camera horizontally or vertically.
-
Remember that tripods can be expensive. Expect to spend around $100-200. However, you'll get a lot of value for your money.
-
Accessories such as memory cards and filters are important.
-
Before you buy online, make sure to check your local shops. Many retailers offer free shipping.
-
Check out customer reviews to learn what they think about a product.
-
Ask family members and friends who own similar products.
-
To learn more about customer experiences, you can visit forums and message board.
-
Look online for user reviews.
-
Amazon.com is a website that allows you to compare prices and get customer feedback.
-
Take a look at these photo galleries to see what other photographers do with tripods.
What makes a camera bag good?
Because it protects your equipment while you are traveling, choosing a camera backpack is crucial. Here are some factors to keep in mind when choosing a bag.
-
The bag should be large enough to comfortably hold your accessories and cameras. Don't get any bigger than you really need.
-
Durability: Look for bags made of durable materials such as leather, canvas, nylon, or polyester. Avoid using plastic bags or fabric bags.
-
Protection: Make your bag waterproof against dirt, moisture and scratches
-
Organization: Sort your gear by type in order to make it easy to access the items you need. Your lenses, memory cards, and battery charger can be placed in different compartments.
-
Comfort: Avoid carrying around a bulky bag when you are shooting. Instead, carry a shoulder belt. A comfortable design should have padded straps.
-
Price: Shop around to find the best price. Some brands sell their products at discount prices, which can be an added bonus.
-
Warranty: Make sure to ask if they offer a warranty for their products. This will ensure that you are able to contact the right person if something happens to your bag.
Statistics
- Get 40% off Adobe Creative Cloud(opens in new tab) (creativebloq.com)
- This article received 13 testimonials, and 100% of readers who voted found it helpful, earning it our reader-approved status. (wikihow.com)
- While I cannot prove that all of those spots were not sensor dust, the photo was taken during a heavy snowstorm…so I guess that 99.8% of the spots are snowflakes. (bhphotovideo.com)
- That's the easiest way to get blurry photos 100% of the time. (photographylife.com)
External Links
How To
How to Take Portrait Photos
Portraits are important because of their ability to show who you actually are. They can also tell your life story. It's possible to have a favourite picture of yourself, but you are now looking for something different. It's easy to forget how much fun taking pictures can be. These are some tips that will help you get started.
-
You need to have enough lighting. The best time to photograph portraits is in the morning and late afternoon. Use flash only when there is not direct sunlight. This will blur any details. It is best to avoid shooting at midday. It will create too many shadows.
-
Use a tripod. The camera will not move if it is held still. That means you'll miss the chance to freeze action. You can also set up your flash first, even if you are using it. After that, turn off the flash again and start over.
-
Photograph close-ups. Closeups are great for showing detail. You might find them a little too realistic if your eyes aren't sharp enough. Pay attention to the eyes, noses, and mouths of people. Are there any unusual features? Is this someone who wears glasses? Are there freckles across her nose? These features add depth and dimension to an individual's appearance.
-
You shouldn't force smiles. Smiles are difficult. Smiles are tricky. Some people smile naturally when they are happy. Others don't. It's not natural to make them smile if you force them. Consider what makes you smile. Perhaps you laugh at silly things, such as a cat jumping through an hoop. Or maybe you love watching paint dry. Whatever your reason, you can keep thinking about it until the end.
-
Creativity is key. People often think of themselves as boring. It's not bad to be boring. Find ways to get out of the normal. One way to break the mold is to ask him to hold his hands behind his head. You might also suggest that he wears a funny hat.
-
Keep practicing. If you practice every day, eventually, you'll become better at capturing moments. You'll start to notice more interesting things around you as you improve.
-
Have fun. It should be fun to take photos. If you enjoy the experience, you will be more likely do it again. Plus, you'll probably end up with some really cool shots.
-
Share your work. Once you learn how to take good pictures, share them with friends and family. Explain to them why you took that picture. Show them where you went. Let them know where you went.
-
Be patient. Sometimes you just won't click. It happens to everyone. Don't worry. Move on to the next image.