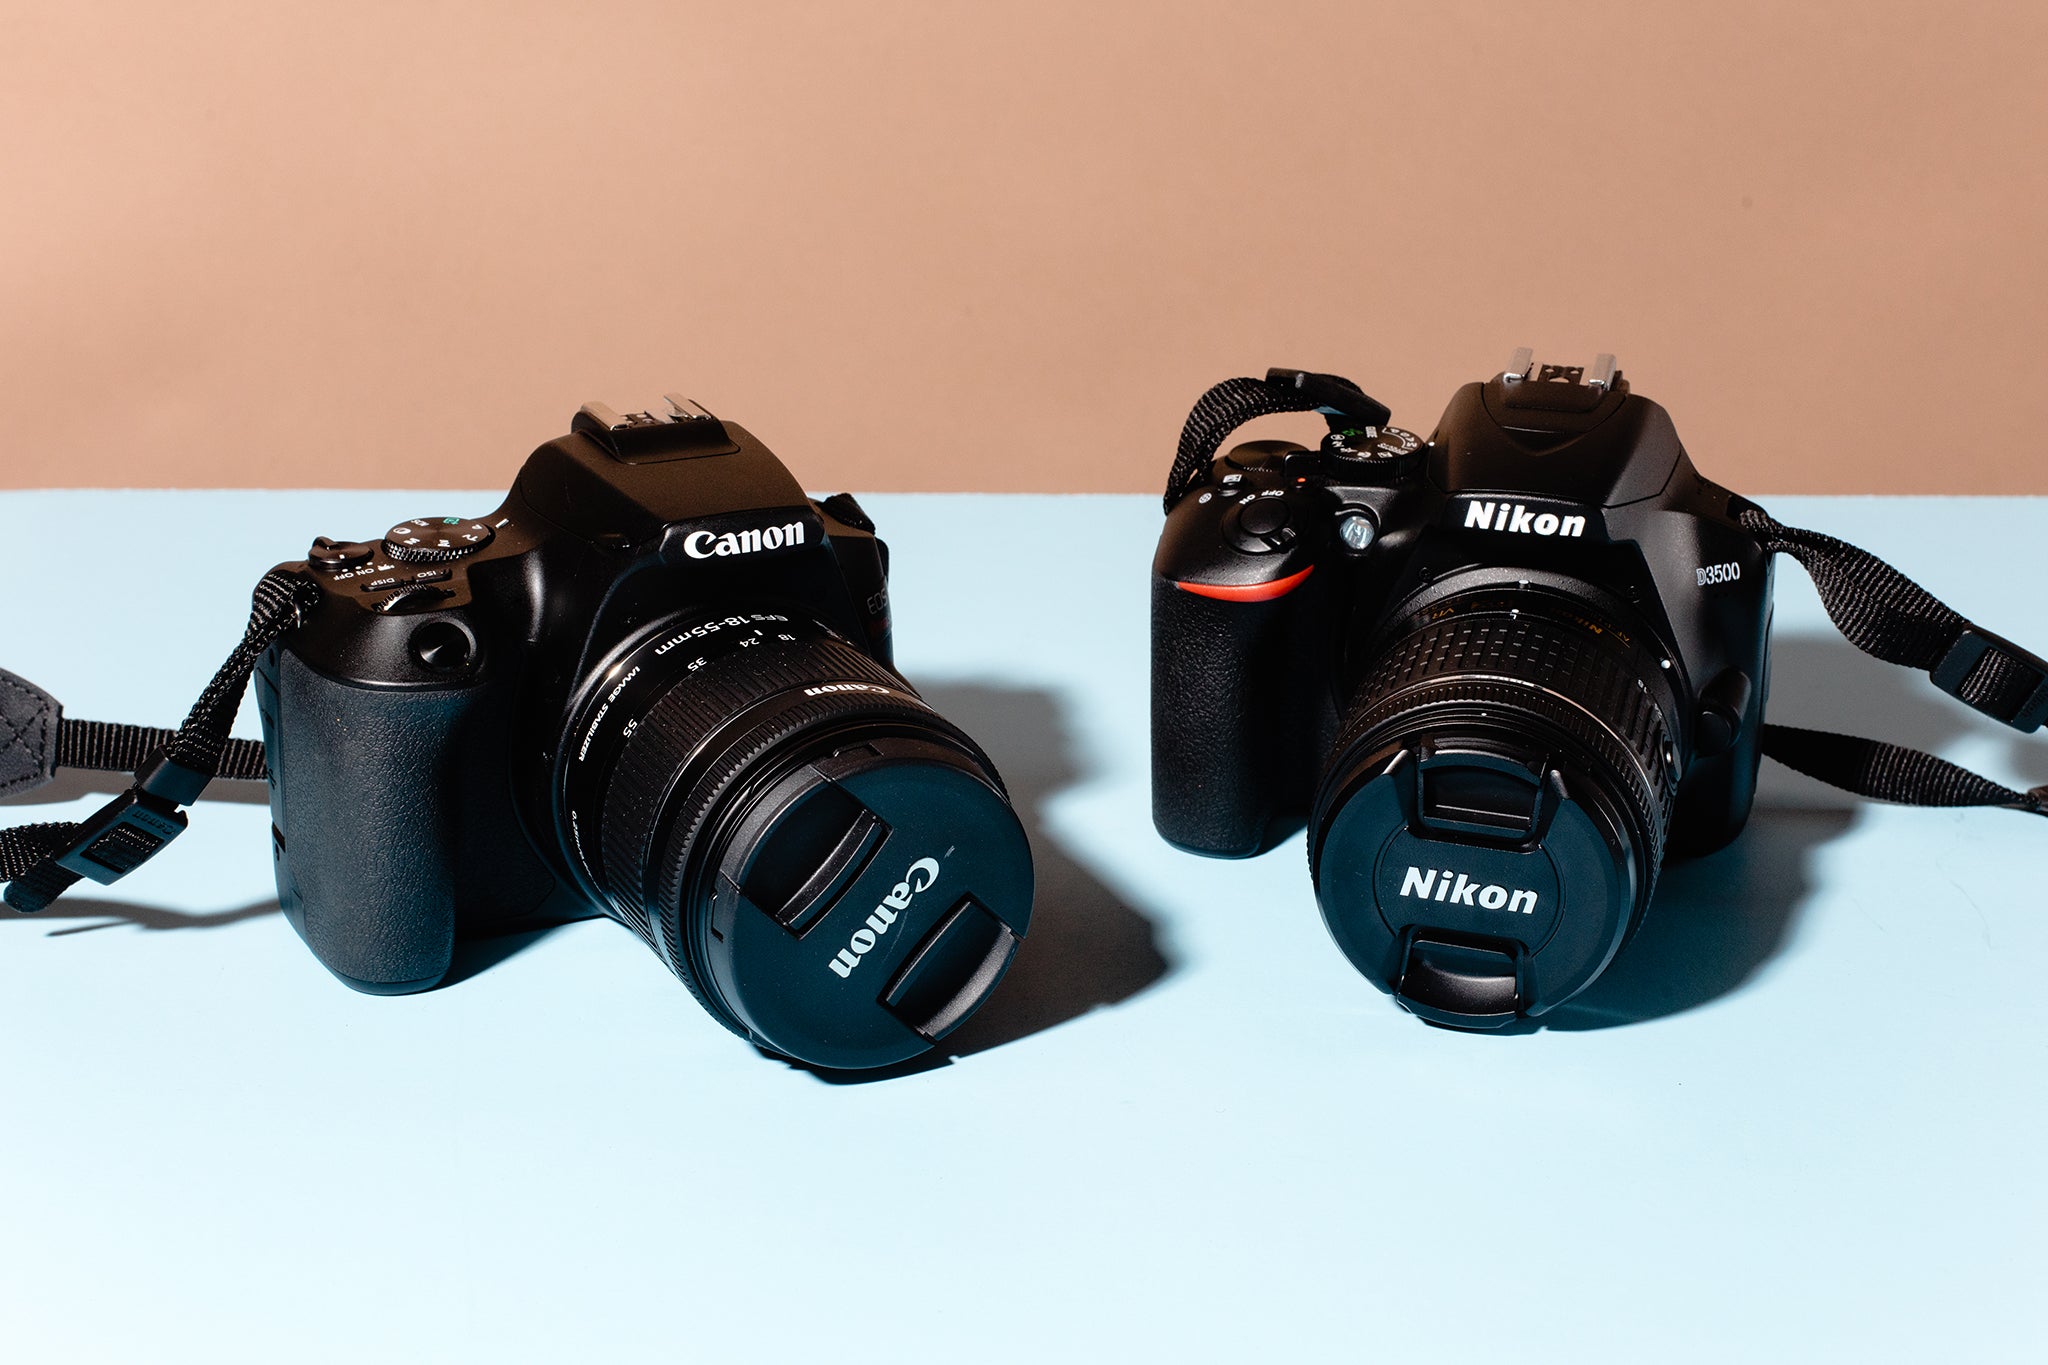
Wide-angle 16-35mm vs 24-70mm
The focal length is important, whether you are photographing landscapes or people. A lens with a small focal length allows you to work in smaller spaces and take advantage of the wide angle perspective.
A wide-angle lens can be described as a rectilinear one. This means it has a wider field of vision and reduces distortion. These lenses can be very useful in landscape photography. A lens with a maximum aperture between f/10 and f/16 is best for wide-angle shots. This is the ideal aperture for sharp corner-to-corner images.
Landscape photographers take advantage of the wide-angle perspective, putting great foregrounds in front of great backgrounds. You can achieve this by using a wide angle lens with an aperture maximum of f/8 to f/11. This lens also allows for slower shutter speeds when shooting handheld.
The 16-35mm wide-angle lens, which is smaller and lighter than a 24-70mm camera for landscape photography, is more cost-effective. Its versatility and wide angle capabilities make this the best lens for taking landscape photos. Many wedding photographers prefer this lens. It also makes excellent portraits, especially for people.
The 16-35 G Master lens has wide angles and macro capabilities. It also features a super 35mm lens mode that allows you to get very close to your subjects without getting in the path. It has a wide zoom range that makes it an ideal lens for landscape photography.
Canon EF 16 - 35mm f/4L IS USM is a popular wide-angle lens that can be used for landscape photography. The lens is affordable and performs very well in most situations. It's sharp and features image stabilization. You can also manually override the focus. It is Canon's best wide-angle lens.
Canon EF-10-18mm f/4.5-5.6 IS STM is another excellent wide-angle lens that can be used for landscape photography. This is a small lens that is light and can be image stabilized. It can also take razor-sharp closeups. It's a superb ultra-wide-angle lens that Canon APS-C camera users will love.
Wide-angle 14mm prime lens vs zoom lens
It can be difficult to choose a wide-angle lens. The choice between a prime and zoom lens is up to you. There are many lenses available, so the definition of "best" is not the same for everyone. There are a few important features to be aware of.
Wide-angle lenses work well for landscape photography. They offer a wide angle of view, which allows for more scenery to be captured in a single frame. You also get a shallow depth-of-field. This allows for a bright viewfinder image and more flexibility for handheld shooting in dim lighting.
Wide-angle lenses also have the ability to create landscape photos with a unique fisheye effect. By tilting the camera slightly to one end, vertical lines will converge. This effect can be corrected with good image editors.
Another important feature of a wide angle lens is its depth-of-field. Most lenses have a maximum aperture of f/2.8, but some have a wider f/2.8 aperture. This can be helpful in portraiture or astrophotography.

Prime lenses are lighter and more efficient, producing better quality images. Prime lenses are also cheaper. They're also available with maximum apertures as wide as f/1.8.
However, wide-angle zoom lenses may not perform at the end of their range. This can lead to aberrations as well as vignetting. Fortunately, most cameras are capable of correcting rectilinear distortion automatically.
Consider your personal preference and the purpose of your photography when deciding between a wide-angle prime lens (14mm) and a zoom lens (22mm). Some photographers prefer the flexibility of a zoom lens. Others may be satisfied with a standard telephoto zoom lens.
The heart of every photograph is its lens, so make sure to choose the right one. Landscape photographs will look great with the correct equipment, no matter whether you get a wide angle prime lens 14mm in diameter or a zoom lens. It is also important to take into account the weight and size, as well your personal budget and needs.
FAQ
How can I make my photos look beautiful?
Photographing yourself is the best way to make sure you look professional in your photos. You'll learn how to pose for the camera, what angles are flattering, and which ones aren't. Additionally, you'll learn how to use lighting and props in order to enhance your natural beauty.
You'll learn how to find clothes that fit and make up that looks great on your skin.
We will also help you retouch your images using Photoshop or another editing software, if you are not satisfied with the results.
Take some self-portraits.
Cameras available for purchase
You can find many places online to buy cameras. However, we recommend buying from a reputable retailer like B&H Photo Video. They have knowledgeable staff who can answer all your questions.
B&H also ships quickly and securely, making it easy to get your order delivered to your door.
This video will help you learn more about buying cameras.
What equipment do I need to get started in digital photography?
First, you need to decide what type of camera is best for you when you first start digital photography. You have several options, including DSLRs (digital single lens reflex cameras), point-and-shoot compact cameras, camcorders, and smartphones. Each one has its advantages and disadvantages. For example, DSLR cameras offer high-quality images but are typically larger and heavier than other types of cameras. Point-and shoot cameras are smaller, lighter and have more automatic settings. Camcorders have excellent video recording capabilities. They may also offer still-photo shooting modes. Smartphones are lightweight, portable, and light. They offer excellent image quality, advanced features, such as GPS mapping, music playingback, and Internet browsing.
After you have decided which type of camera you want to purchase, you need to decide if you prefer to buy a new or used model. If the camera was purchased in the past few years, it is possible to find used cameras at reasonable prices. Newer models usually cost more as manufacturers invest large amounts of money to develop new technology.
Next, you will need lenses. The quality of your photos is directly affected by the lens. They let you adjust the focal length to zoom in and out of the scene, without losing focus. Some lenses come with built-in flash units while others need external flash units. Many brands offer many lenses with unique characteristics.
Finally, memory cards are something you should consider. Memory cards store pictures taken by your camera. Depending on the size of your card, it could hold hundreds or even thousands of pictures. Multiple memory cards are required if you intend to take many pictures.
How can I learn how to photograph on my own.
There are many methods to learn how you can take amazing photos. You could buy a book, attend a class, join an online community, watch YouTube tutorials, etc. There's no better way to learn the art of photography than by doing it yourself. By doing it yourself, you are in complete control of what goes into each shot. You will continue to learn and improve, so long as you are willing to keep learning.
One of the greatest things about digital photography, however, is the fact that you don’t need expensive equipment. All you need is an internet connected computer and a camera. The rest is up to you.
Here are some tips to get you started.
-
Acquaint yourself with the manual settings of your camera.
-
Learn how to use the basic controls.
-
Photograph lots.
-
Modify them.
-
These are yours to share.
-
Keep practicing.
-
Experiment.
-
Consider different angles and perspectives.
-
Use light sources creatively.
-
Practice makes perfect.
-
Never be afraid to fail.
-
Be patient.
-
Have fun
Light Room is a great way to enhance your photos.
The best way to ensure you have the perfect photos for your project is to start early. It's better if you take as many shots possible before you decide on the ones that give the most value.
Lightroom makes this possible by showing you how different settings affect each photograph. These settings can be adjusted on the fly without having to go back into Photoshop. This lets you quickly experiment with what looks great and what doesn't.
Statistics
- By March 2014, about 3 million were purchased monthly, about 30 percent of the peak sales total. (en.wikipedia.org)
- Get 40% off Adobe Creative Cloud(opens in new tab) (creativebloq.com)
- In this case, 100% of readers who voted found the article helpful, earning it our reader-approved status. (wikihow.com)
- There are people out there who will pick at flaws they can only see in 100% crops of your photos. (wikihow.com)
External Links
How To
How to photograph in low light conditions
Low-light photography refers to taking photos in dimly lit or dark environments. This requires special equipment and techniques. The main challenges in this field include controlling exposure, whitebalance, and sharpness. There are two types of low light photography: flash and ambient. Flash photography works best when there's enough light around. However, if there's not enough natural light around you, you'll need to use flash. You might need a flash if your subject is outside but indoors. Try shooting at night, during the moonlit hours, if you don't need a flash. This will give you some beautiful shadows and colors. Another option is to capture at twilight. Twilight occurs when there is still daylight but the sun has set.
You may also want to experiment with long exposures. Long exposures allow you to record images after the shutter has been open for several minutes. If the shutter is closed, the camera records only the light that falls onto the sensor. This light falls onto the sensor even after a long exposure. The shutter was not opened, so no new light entered the lens. The result is that there is very little movement. To ensure a clear image, you should turn off all automatic settings such autofocus or exposure. You should also adjust the ISO setting prior to you start taking photos. A 200 ISO setting gives you greater control over how dark or bright your image looks. When you're ready for the shot, press quickly the shutter button. This will bring the shutter completely to a close. Hold the shutter button down for the final second. To prevent additional light entering the camera, hold the shutter button down. Once you have taken your picture, wait for a few moments before you release that shutter button. This allows the camera time to process the photo. While you wait, your photos will be displayed on your computer's screen. Once you are satisfied with the photos, save them onto your computer.